When it comes to spooky season, nothing is more fun than halloween cookie decorating. Whether you’re preparing a tray for a party, giving gifts to friends, or just baking with kids, these cookies are a must. From pumpkins and bats to classic ghost cookies, you’ll learn how to create designs that look festive and taste delicious. This recipe can be used for simple halloween sugar cookies or even slightly different versions like halloween biscuits depending on the shapes you choose. It’s also one of the best recipes for easy halloween cookies, perfect for beginners.
Ingredients for Halloween Cookies
To prepare your batch of halloween sugar cookies, you will need:
- 200 g unsalted butter, softened
- 250 g granulated sugar
- 2 large eggs
- 1 teaspoon pure vanilla extract
- 550g all-purpose flour
- 1 teaspoon cinnamon
- 1/2 teaspoon salt
This dough works perfectly for halloween cookie decorating because it holds its shape after baking. It is also versatile enough to make both detailed ghost cookies and simpler halloween biscuits. If you are looking for easy halloween cookies, this recipe will save you time while still giving amazing results.
For the royal icing:
For stunning halloween cookie decorating, royal icing is the key:
- 3 egg whites (or pasteurized equivalent)
- 4 cups powdered sugar
- 1 tsp lemon juice
Note: You can also buy ready-made royal icing in the U.S., either as a dry mix (just add water) or pre-colored tubes. The dry mix requires adding water little by little until the desired consistency is reached. Pre-colored tubes are great for quick decorating but may be limited in design flexibility.
Step-by-Step Instructions
1. Preparing the Dough
Cream the butter with the sugars until light and fluffy. Add the eggs one at a time, followed by the vanilla extract. In another bowl, whisk the flour, cinnamon and salt. Gradually mix the dry ingredients into the butter mixture until well combined.
2. Shaping the Halloween Cookies
Divide the dough into two portions, flatten them into disks, wrap in plastic wrap, and chill for at least 1 hour. Once chilled, roll the dough on a floured surface to about 1/4 inch thickness. Use cookie cutters in ghost, pumpkin, bat, witch hat, and cat shapes. Place them on parchment-lined baking sheets.

3. Baking the Cookies
Preheat the oven to 350°F (175°C). Bake the cookies for 12-15 minutes, or until the edges are lightly golden. Allow them to cool completely before decorating.

4. Making the Royal Icing
In a large bowl, beat the egg whites until they become foamy and light. If you’re using lemon juice or cream of tartar, add it at this stage to help stabilize the mixture. Then, gradually add the sifted powdered sugar while continuing to beat on medium-high speed. Keep mixing for about 7 to 10 minutes, or until the royal icing reaches stiff peaks. The final texture should be glossy and thick, similar to marshmallow fluff. Once ready, you can divide the icing into smaller portions and add gel food coloring if desired. To prevent the icing from drying out, cover it with plastic wrap that touches the surface or transfer it to an airtight container until you’re ready to use.
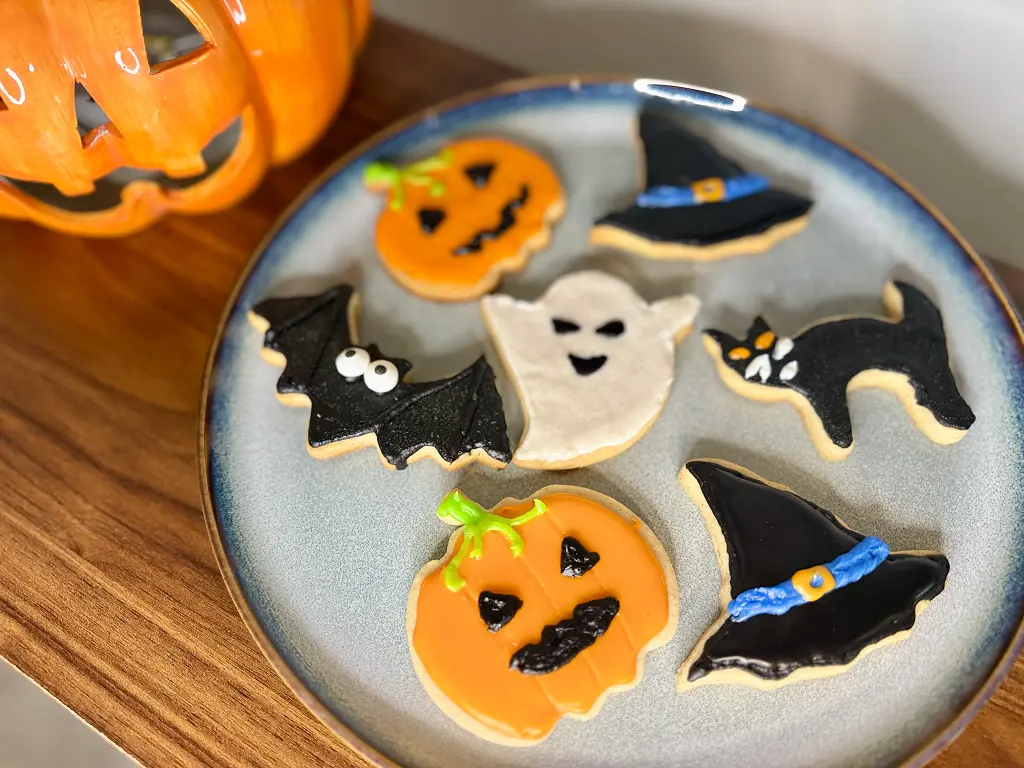
5. Decorating Your Spooky Treats
Use piping bags or small spatulas to apply the frosting. Create glowing orange pumpkins, black cats, purple witch hats, and green ghosts. Add sprinkles or edible glitter for extra charm. Allow the frosting to set before serving or packaging.

Creative Decorating Ideas for Halloween Cookies
Cookie decorating is the most exciting part of this recipe. Here are some ideas:
- Ghost Cookies: Frost with white icing and draw eyes and a mouth with black food coloring gel.
- Pumpkin Cookies: Use orange frosting and pipe green vines. Add a friendly or scary face.
- Bat Cookies: Cover with black frosting and use edible pearls for eyes.
- Witch Hat Cookies: Frost in purple or black and add a stripe of orange.
- Cat Cookies: Coat in black icing and add glowing green eyes for a spooky effect.
Decorating is where simple halloween sugar cookies transform into works of edible art.
How to Store and Package Your Halloween Cookies
To keep your Halloween cookies fresh:
- Store them in an airtight container at room temperature for up to 5 days.
- Place sheets of parchment paper between layers to avoid sticking.
- For longer storage, freeze unfrosted cookies in freezer bags for up to 2 months. Frost after thawing.
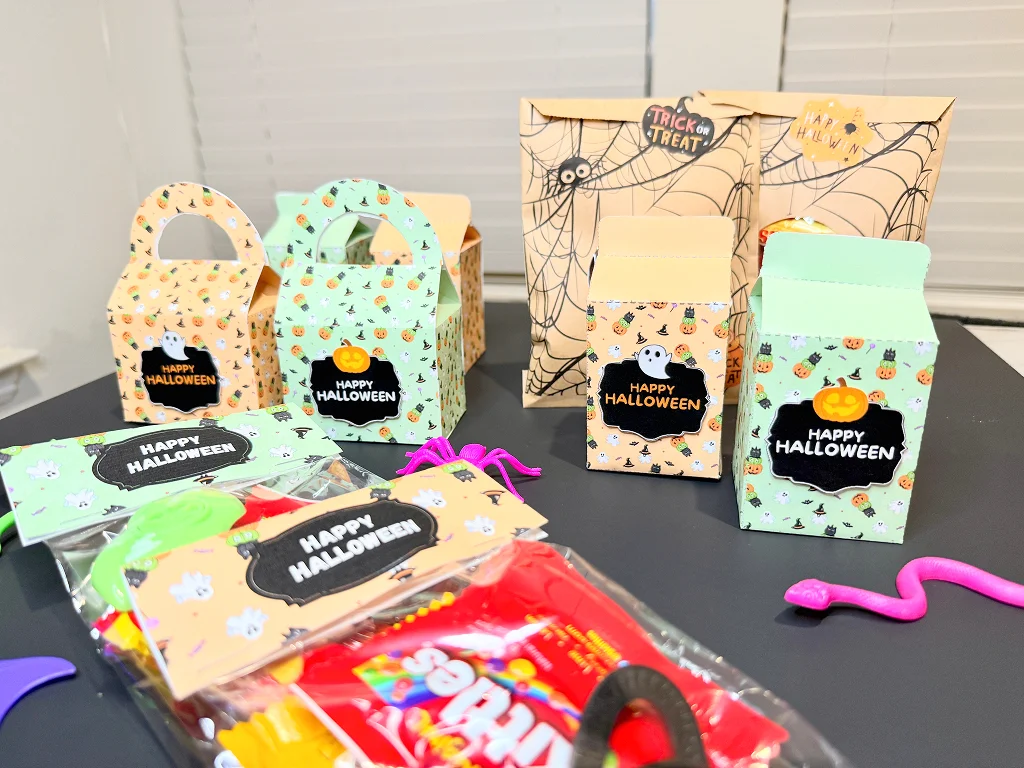
For gifting or party favors, wrap cookies individually in cellophane bags tied with festive ribbons. Add a Halloween tag for a personalized touch.
Hosting a Party with Homemade Halloween Cookies
These cookies can be more than just a dessert—they can be the centerpiece of your Halloween party. Arrange them on a spooky platter with dry ice fog for a dramatic effect. You can also organize a cookie-decorating station where kids and adults use frosting and sprinkles to customize their own treats. This interactive activity turns your baked goods into an experience.
Tips for Perfect Results Every Time
- Chill the dough: This prevents spreading and keeps shapes sharp.
- Don’t overbake: Remove cookies just as the edges turn golden.
- Invest in gel food coloring: It gives brighter, richer tones without thinning the royal icing.
- Let royal icing dry: Allow cookies to sit uncovered for several hours so the designs set.
Variations of Halloween Cookies You Can Try
- Gluten-Free Version: Substitute with gluten-free flour blends.
- Vegan Option: Use dairy-free butter and a flaxseed egg substitute.
- Different Nuts: Use cashews, pecans, almonds, or hazelnuts in the dough.
- Chocolate Halloween Cookies: Add 1/4 cup cocoa powder to the dough.
Fun Ways to Involve Kids in Baking
Baking Halloween cookies is a family-friendly tradition. Kids can help with:
- Cutting out shapes with cookie cutters.
- Mixing food colors into royal icing.
- Decorating their own cookies with silly faces and sprinkles.
This fun activity sparks creativity, strengthens family bonds, and leaves everyone with sweet memories — and messy fingers!
Pairing Halloween Cookies with Festive Drinks
To elevate the celebration, serve your cookies with themed drinks:
- Pumpkin spice lattes for adults.
- Hot chocolate with marshmallow ghosts for kids.
- Sparkling apple cider with cinnamon sticks for all ages.
The warm, spicy flavors balance the sweetness of the cookies perfectly.
Conclusion: Celebrate Halloween with Style and Flavor
Baking and decorating during spooky season is always rewarding, but nothing beats the creativity of halloween cookie decorating. With simple tools, a colorful royal icing recipe, and a little imagination, you can turn ordinary cookies into festive treats. Whether you prefer detailed ghost cookies, vibrant halloween sugar cookies, or just a tray of easy halloween cookies, this recipe will make your Halloween table stand out. And don’t forget: even a simple batch of Halloween biscuits can bring smiles to everyone at the table.
So, how are your Halloween preparations going? Don’t forget to check out our article Halloween Party at Home: Easy Ways to Decorate for fun and simple ideas to decorate your home for the spookiest day of the year! 🎃👻